How To Photograph the Northern Lights - Ultimate Beginners Guide
How to Photograph the Northern Lights
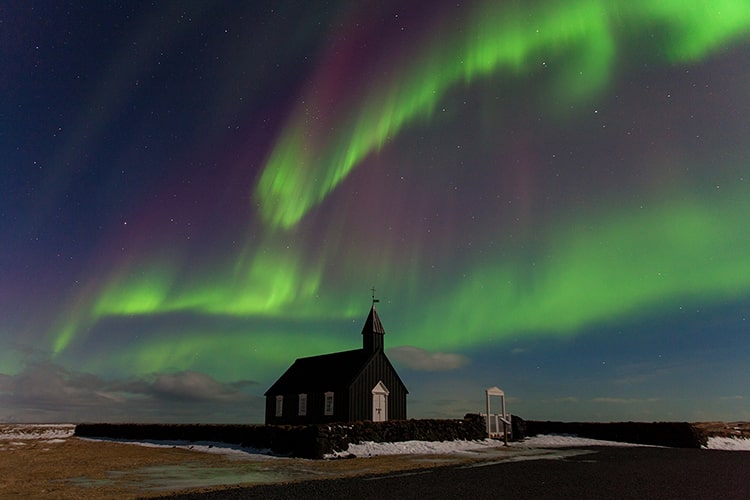
In this blog, we will cover a complete beginner guide on how to photograph the Northern Lights. This article will concentrate on one thing and one thing only, capturing a once in a lifetime image of the Aurora.
There are many technical aspects of photography, especially when photographing the night skies. Still, the aim here is to give you confidence and knowledge to capture the magical green event of the Aurora Borealis.
Top 5 locations to see the Northern Lights
We need to know where the Northern Lights occur to capture them. Sounds stupid right? Below I will give you my top 5 locations to photograph the Northern Lights.
- Tromsø, Norway
- Fairbanks, Alaska USA
- Yukon, Canada
- Reykjavik, Iceland
- Tasmania, Australia
Dream Location: South Georgia Island
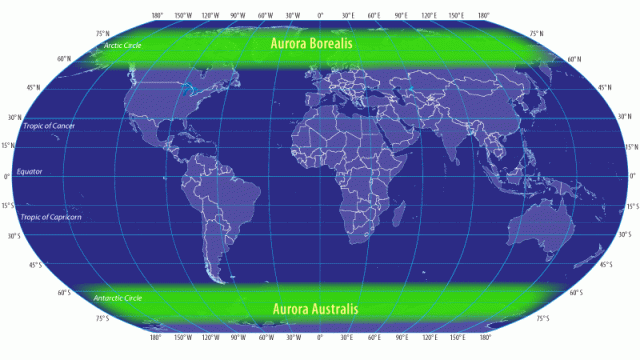
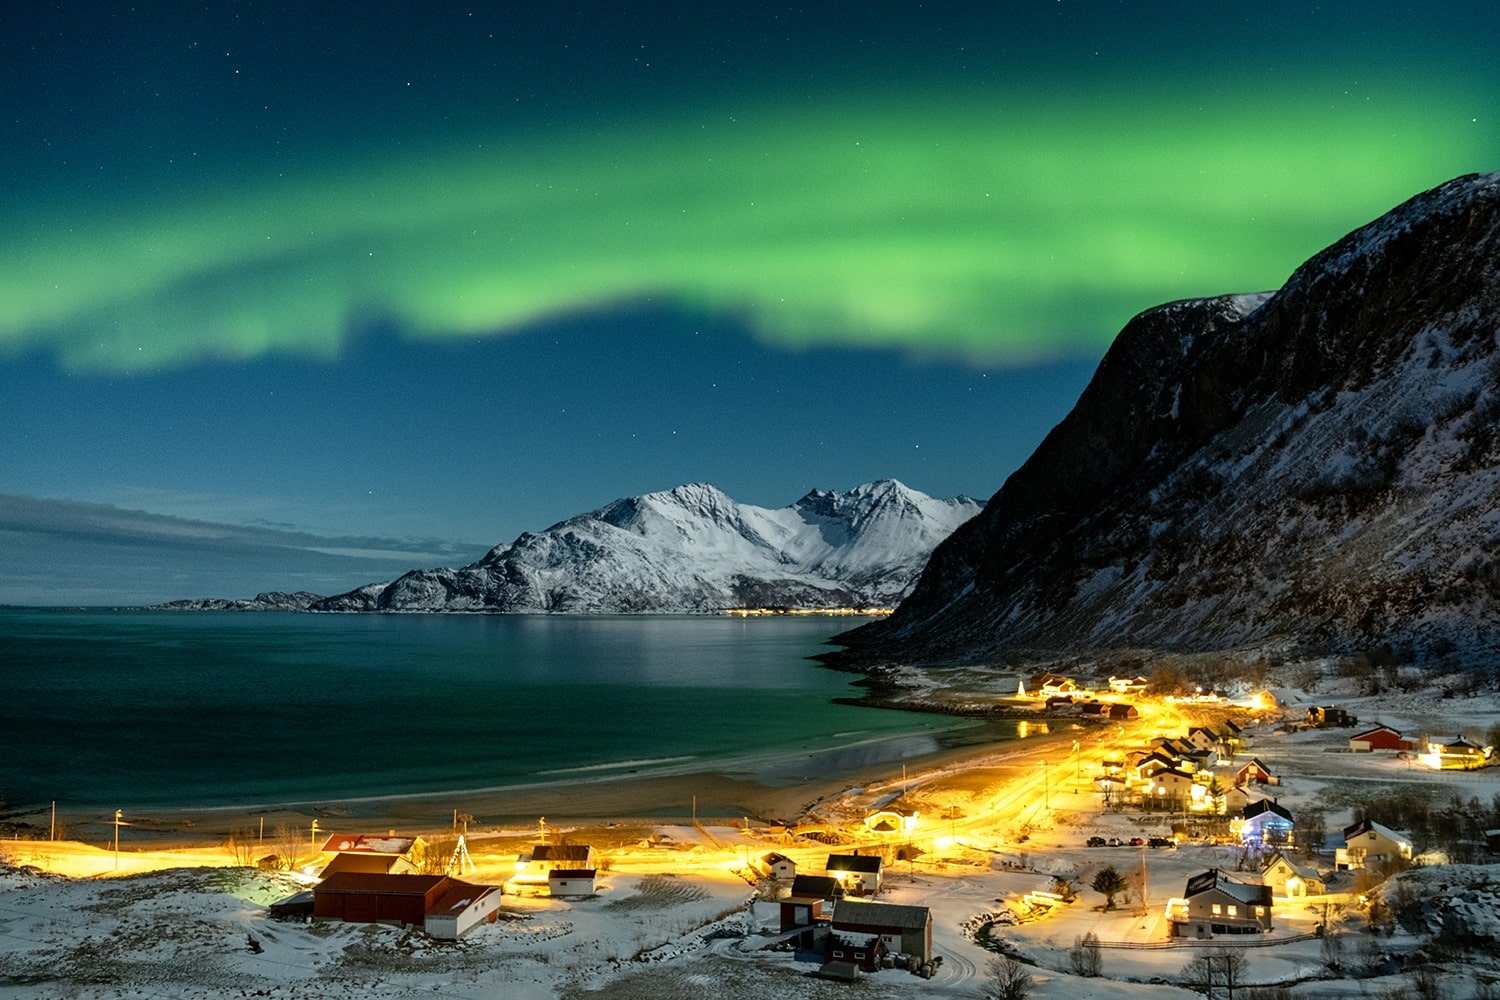
My top location is Tromsø - it's easy to access, warmer due to the Gulf Streams, so you won't freeze. Best of all, Tromsø is located in the Auroral Oval. Interested in joining me for a photography workshop learning how to photograph the Northern Lights? Find out more information here.
Below is a map of where the Aurora Borealis and Aurora Australis occur. (Yes, there are Southern Lights)

5 planning tips to Photography the Northern Lights
- Time of year - Above, I explained about providing a location to witness the Northern Lights. Now we need to select a time of year. The best time to observe the lights is during the winter season, from November to March. This is due to the nights being longer.
- Duration - To maximise your chances of photographing the Northern Lights, it's good to stay in the area for five days. My photography workshops in Tromsø are six days to increase the probability of viewing the Northern lights.
- Dark Skies - The darker the skies, the more probability you'll have of witnessing the Northern Lights. An app called 'light pollution' will help you locate the best areas. I talk in-depth about this on my YouTube video, which you can watch here.
- Weather - The weather is the second most significant obstacle to overcome when photographing the Northern Lights. I recommend the weather forecaster called windy; this will allow you to observe the percentage of cloud cover, wind directions and temperatures. Pick a day where clear skies are forecast. Remember, research multiple areas where you're located. Clear pockets can occur due to being located near the ocean.
- Forecast - The biggest hurdle to overcome when photographing the Northern Lights is the occurrences themselves. An app called 'Aurora' will help give a calculated prediction for your particular area. The app will predict future observations, but I highly recommend to concentrate on the hourly forecasts. On my recent trips to Tromsø, we still witnessed the Aurora on KP 2 ratings.
BEST Camera Setting for Northern Lights?
Now we're going to discuss the best camera settings to photograph the Northern Lights for beginners; remember, some locations will change depending on other factors. Generally, this will work in most situations.
Below is a comprehensive overview of everything you need to know to capture this once in a lifetime image. Even if you don't know anything about photographing the night skies.
- Focus to infinity on your lens
- Aperture at 1.4 to 4 – the lowest your lens to go
- Shutter Speed between 5-15 seconds - Depends on other factors read below.
- ISO between 1600-3200 at the beginning
- Custom Kelvin white balance of 3800K
Focusing on infinity - Nailing the focus is a critical element of photography. Sadly, it's one component we're unable to fix in post-production if we make a mistake. Focusing in the dark is near impossible. That's why we need to find the lenses infinity focusing point. This will change on each lens you own.
How to set your lens to infinity?
Finding infinity on each lens is best practised during the day. Besides, practise this by finding out to an open area, making sure there is something far in the distance. Initially, set your camera on a tripod and allocate your camera to manual focusing. Zoom in as far as you can on the back of the LCD screen. Move the focusing ring on the front of the lens until the object in the distance is the sharpest it can be.
When you've found the sweet spot on the lens, use a marker or tape to remember the exact location. (Pictured on my Samyang 12mm F/2)
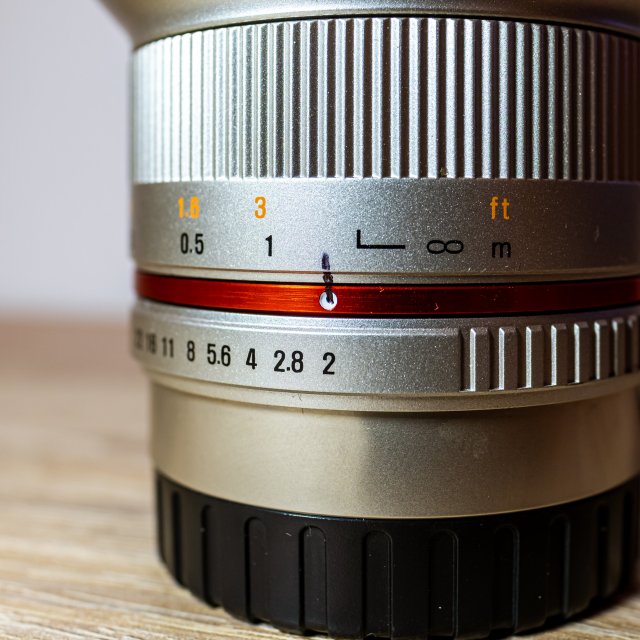
Lastly, you'll often notice that the infinity symbol marked on the lens compared to reality is quite a bit different. It's essential to practise this before heading out; we can not sharpen an unsharp image!
YouTube Video:
YouTube Video: Basic Settings for Night Photography
Aperture - Ideally, you'll want a lens with a maximum aperture of 1.4 to 2.8. If your lens doesn't go this high, don't worry. I've had clients and also myself personally that have captured images at F/4 before. The aperture will depend on the moon's intensity, but for beginners, use the largest aperture on your lens.
Shutter Speed - For a general guide, I recommend shooting with a shutter speed between 10-15 seconds. As a result, this will capture a general overview of what's in the night sky.
Something we need to consider when photographing the night sky is not to break the golden 500 rule. During a perfect night of photography, the Aurora may be dancing above our heads for 1 to 2 minutes. If the shutter was open for this duration, the stars would show significant movement in the image. Therefore, below is the basic golden rule on working out your shutter speed for the particular lens.
Shutter Speed 500 Rule:
- Guide: 500/Focal Range (X's by crop factor if necessary) = Shutter Speed
- Samyang 12mm: 500/12(x1.5 - Fujifilm) = 27 seconds
ISO Settings - 3200 ISO is an ideal starting point to assess the surround conditions. This setting differs depending on natural and artificial light in your surroundings, such as the moon and light pollution. Below is a rough starting point for different situations:
Rough Guide for Moon / Light pollution %s at F/2.8 aperture.
- 0% Moon / Light pollution - ISO 6400
- 50% Moon / Light pollution - ISO 3200
- 100% Moon / Light pollution - ISO 1600
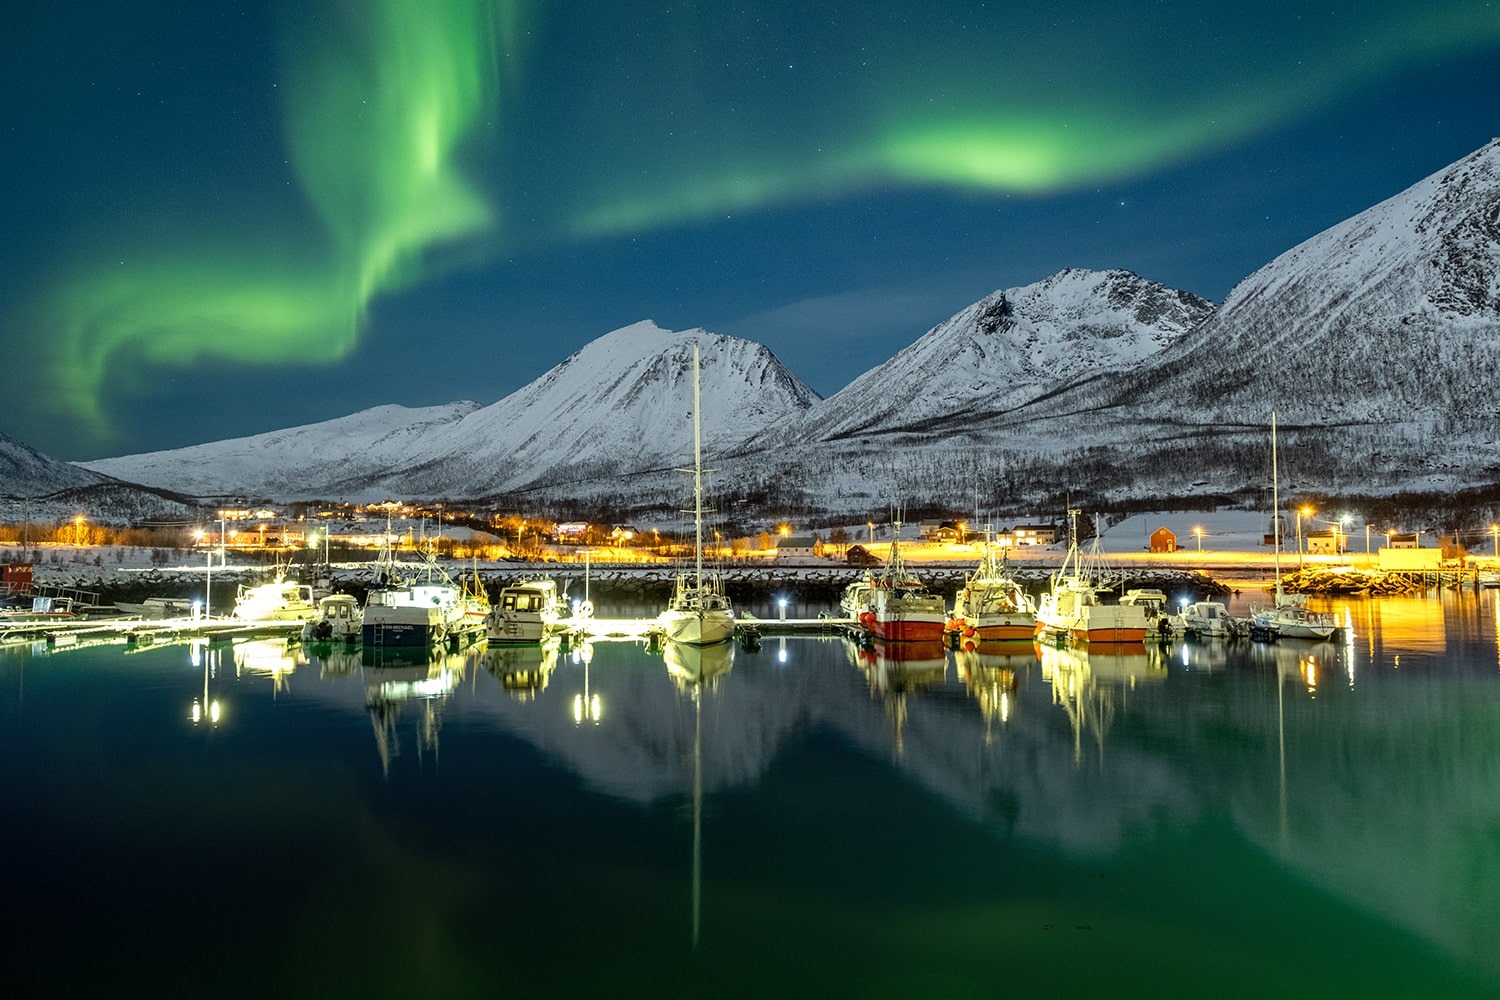
Additional information to know
Kelvin Temperature - Locking down our white balance is essential and often overlooked. As a result, a kelvin temperature of 3800K works best for the Northern Lights and snowy foreground. If your camera doesn't allow you to allocate a manual white balance, select a setting that works best at the time. Please, DO NOT leave this set on auto.
Still, worried? First, concentrate on the ISO value. Secondly, select the maximum aperture, 15-second shutter speed and focus to infinity. Finally, if the image is:
- Overexposed - Lower ISO
- Underexposed - Raise ISO
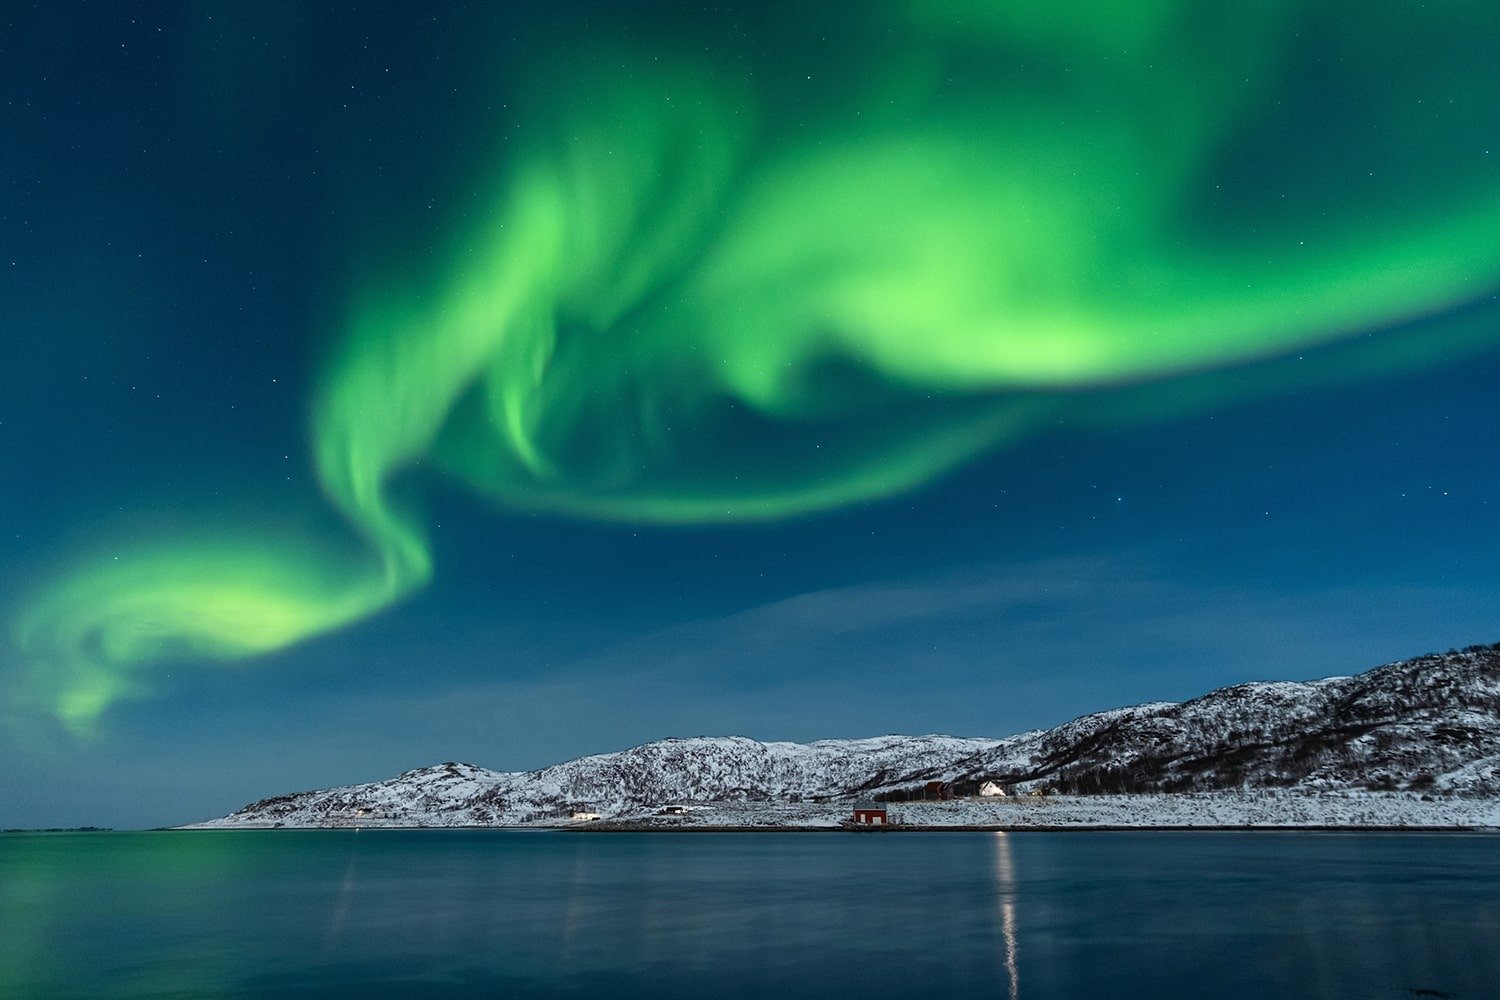
BEST camera for Northern Lights?
The camera that you already own. Seriously! If you're a hobbyist, professional or just starting in photography, the camera you already own will be good enough!
Photography's expensive, and it's easy to start pouring money into a new gear, but with the suitable condition - it's possible! I would invest the funds into recent locations before investing in that new low light lens you might use once.
Camera brands such as Panasonic, Nikon, Fujifilm and Sony make great options for low light photography. Additionally, Samyang/Rokinon, Sigma and Tokina make wide-angle low light lens options easy with their superb quality and ridiculously affordable prices!
Finally, need help to decide what camera suits your needs, or what low light lens will work the camera you already own? Please contact me!
Equipment to capture the Northern Lights?
Photography Equipment - Expensive camera equipment is not essential to capture the Northern Lights. Previously, I used a Canon G5X to capture the Northern Lights before. Therefore, a newer camera will capture this event, especially with different manufacturers making fantastic wide-angle low light lens at an affordable price.
- Camera (DSLR, Mirrorless or MFT system)
- Wide-angle low Light Lens (F1.4 to F2.8 preferred)
- Sturdy Tripod
- Head Torch (With red torch)
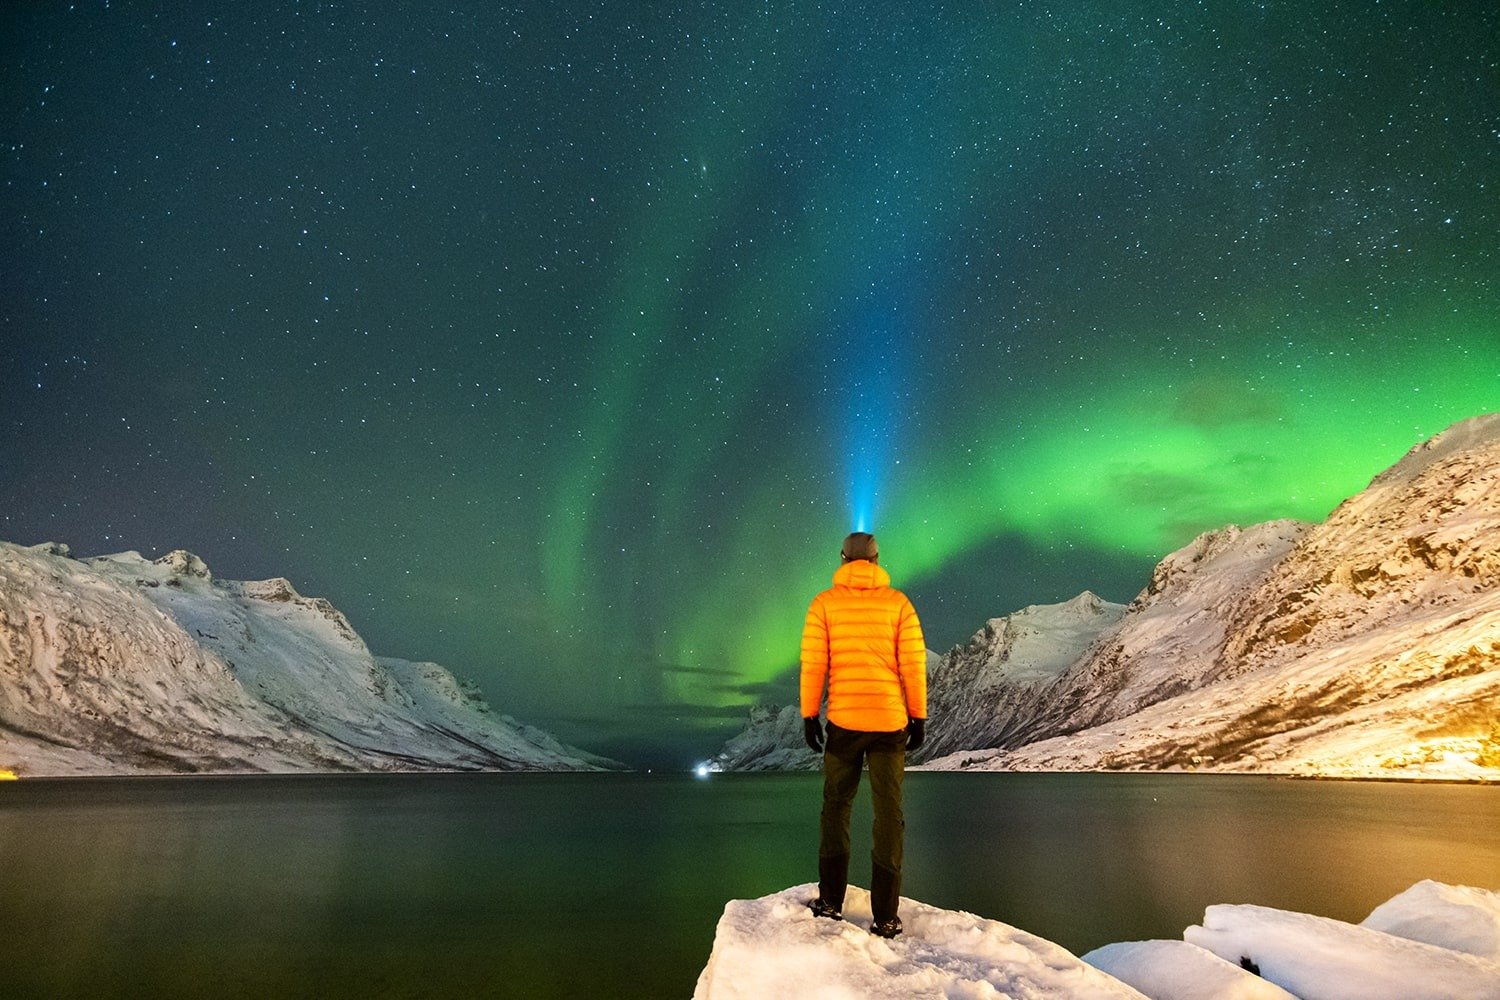
Clothing - Not photography related but a critical topic to talk about before heading out in the elements. Can I remind you that the Aurora occurs during the winter season in the most northern/southern countries in the world? It's going to be cold.
- Baselayers
- Fleece / Merino Jumper
- Down jacket
- Hat & Gloves
- Winter boots & Socks
Conclusion
In Conclusion, this article outlines camera settings that will enable you to capture the Northern Lights in 90% of situations. If you're still worried, concentrate on your ISO. As I said, the most important thing is capturing the image. Wish to learn how to capture the northern lights or improve your low light photography skills? Consider joining me at one of my photography workshops.
